Boxer and SSL for PoC
Boxer has 2 types of accounts:
- main – is being added on install, is usually configured with policies. Cannot be deleted.
- additional – is added by users if this is allowed by policies. Can be configured manually.
Warning
(15.08.2017) For policies which are being distributed centrally for the main account there is no possibility to configure “Ignore SSL errors”. If in a PoC of Boxer you have to connect to a private/test mail server, this may pose a problem.
Variant 1 (recommended): server is signed by a cert, which was given by a inner CA (issued by =/= issued to)
Solution: on all devices in the test, you have to manually deploy the certificate chain in the trusted section:
Android: https://support.google.com/nexus/answer/2844832?hl=en
Warning
In Android 7.0+, by default, apps don’t work with CA certificates that you add. But app developers can choose to let their apps work with manually added CA certificates. https://support.google.com/nexus/answer/2844832?hl=en
Variant 2: server is signed by a self-signed cert (issued by == issued to)
Solution: use the first account to distribute policies from any public EMail. For example, Office365 from our VMTestDrive
Note
Account can be only one for all devices - this account will not be used
- After Boxer installation connect to the account provided by policies (VMTestDrive)
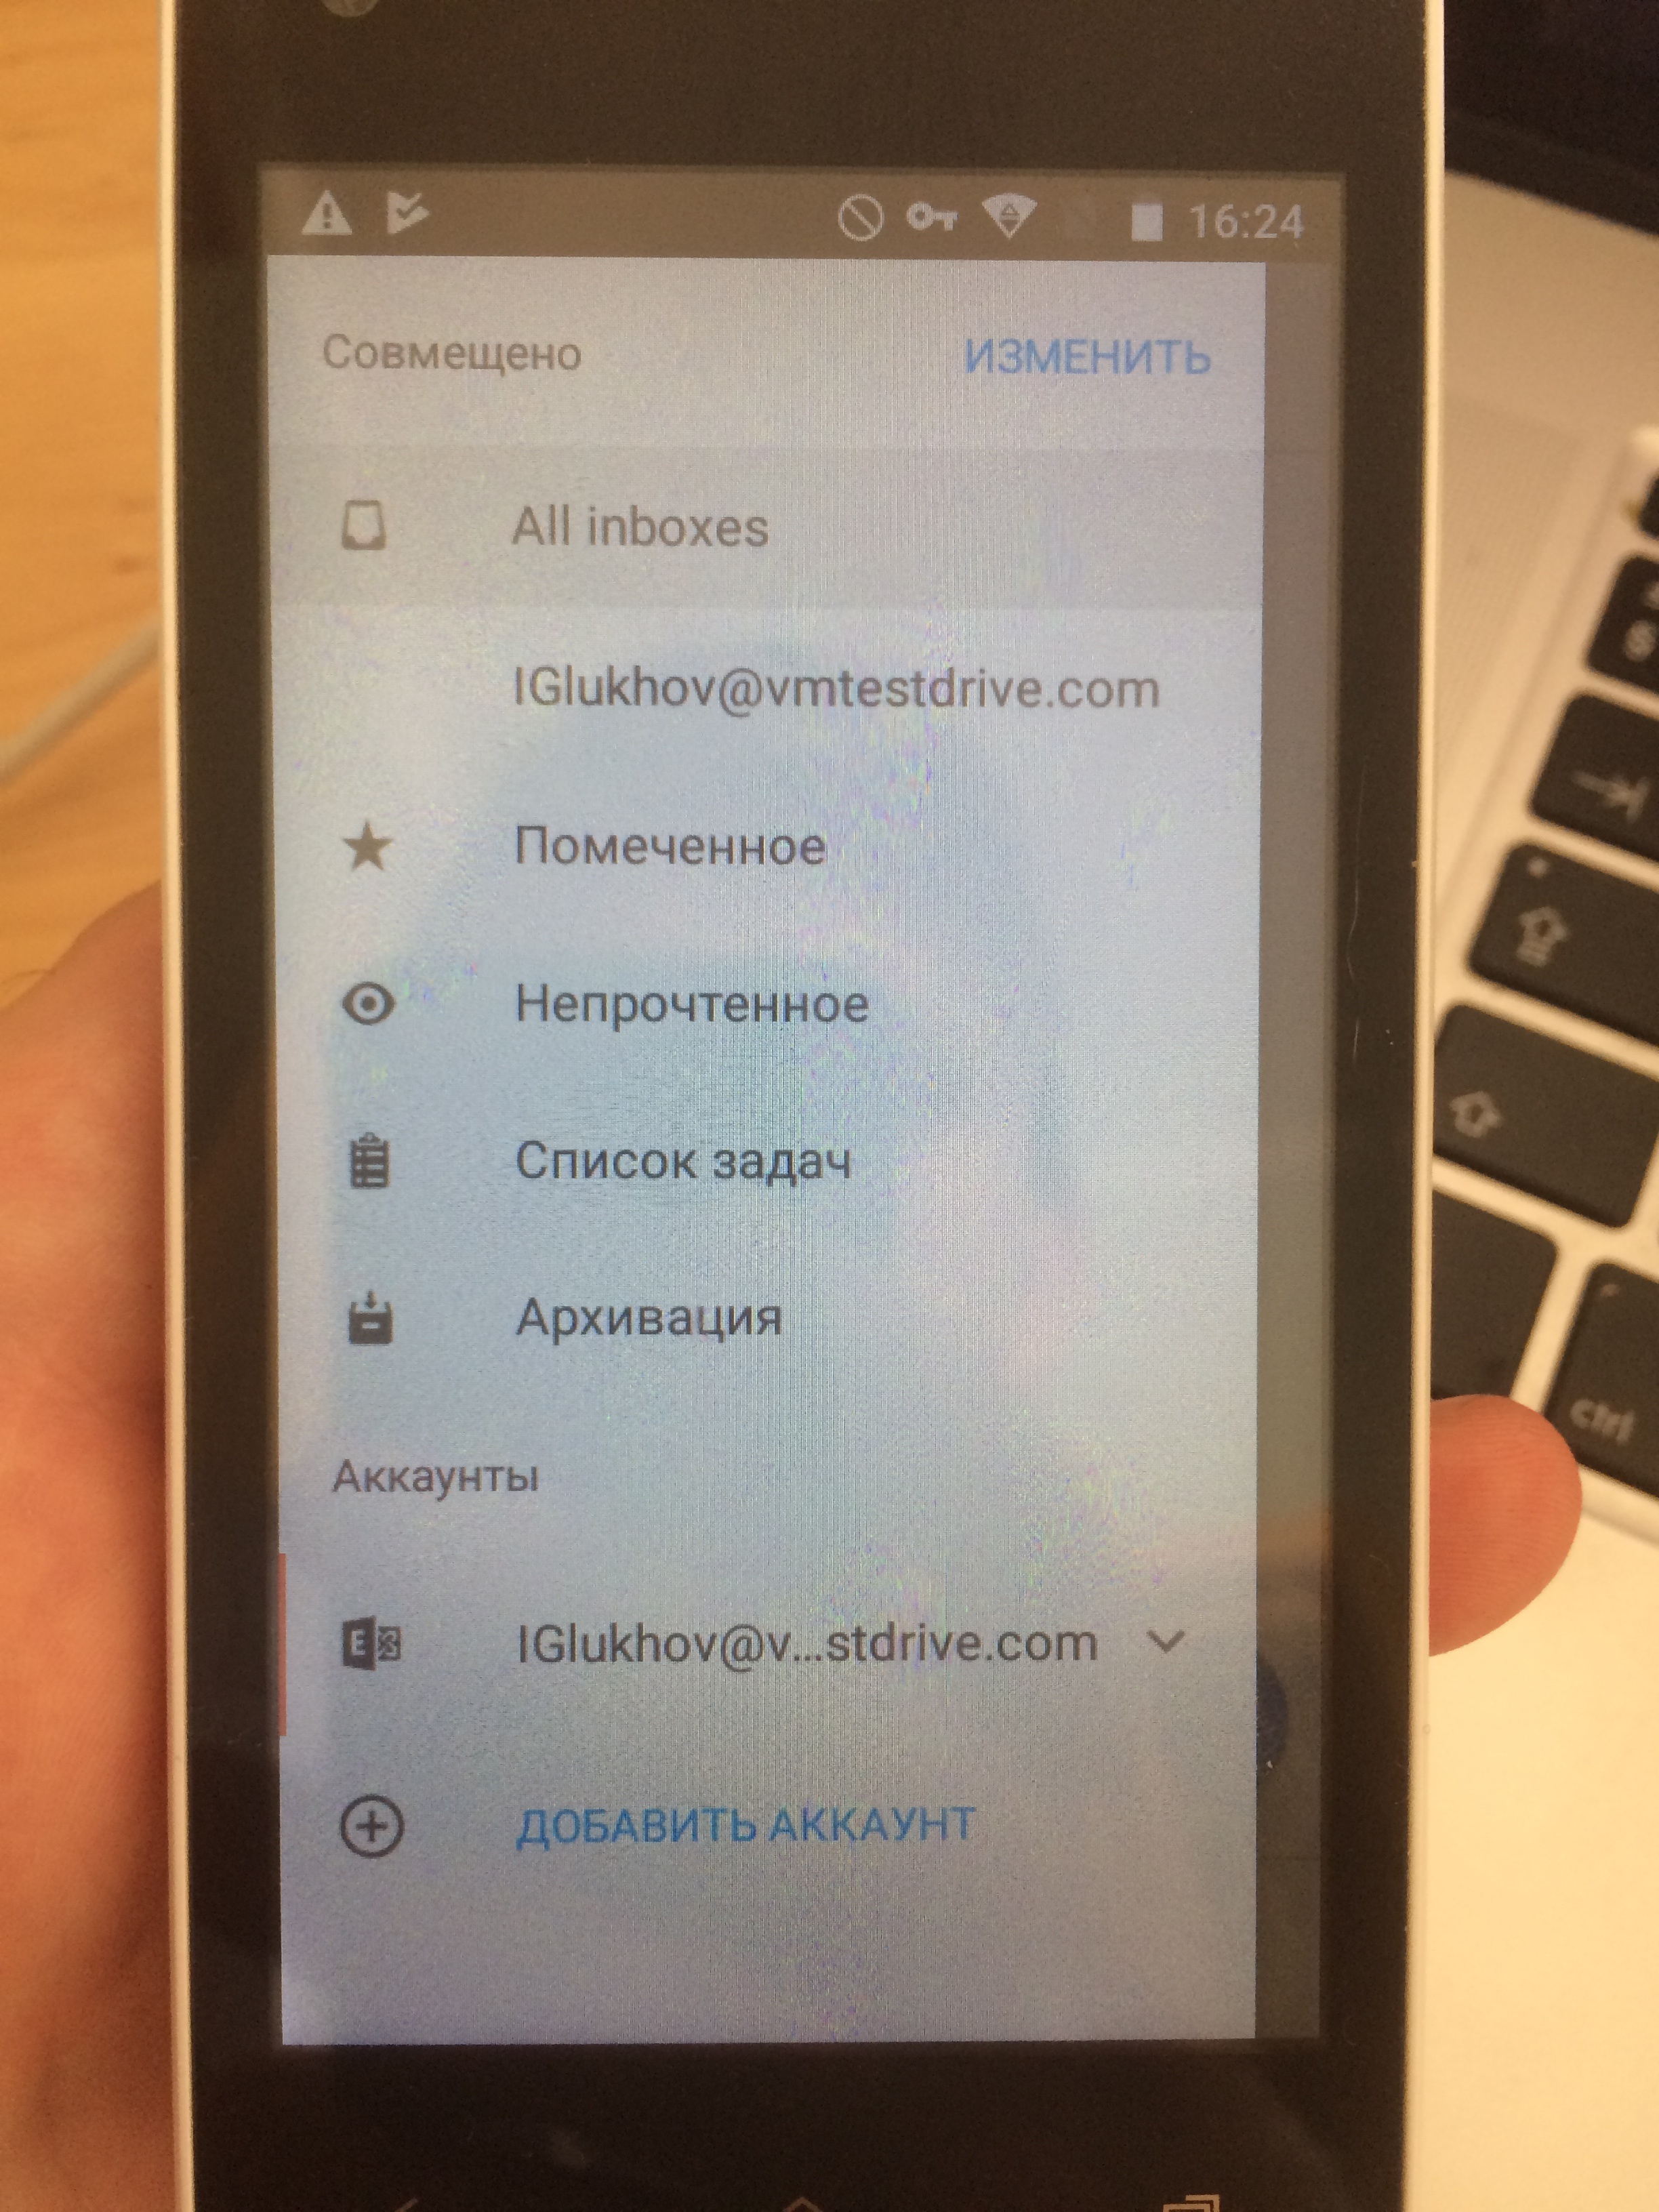
- Choose Add Account (“Добавить аккаунт”) in Boxer left menu (IMG_1455.jpg)
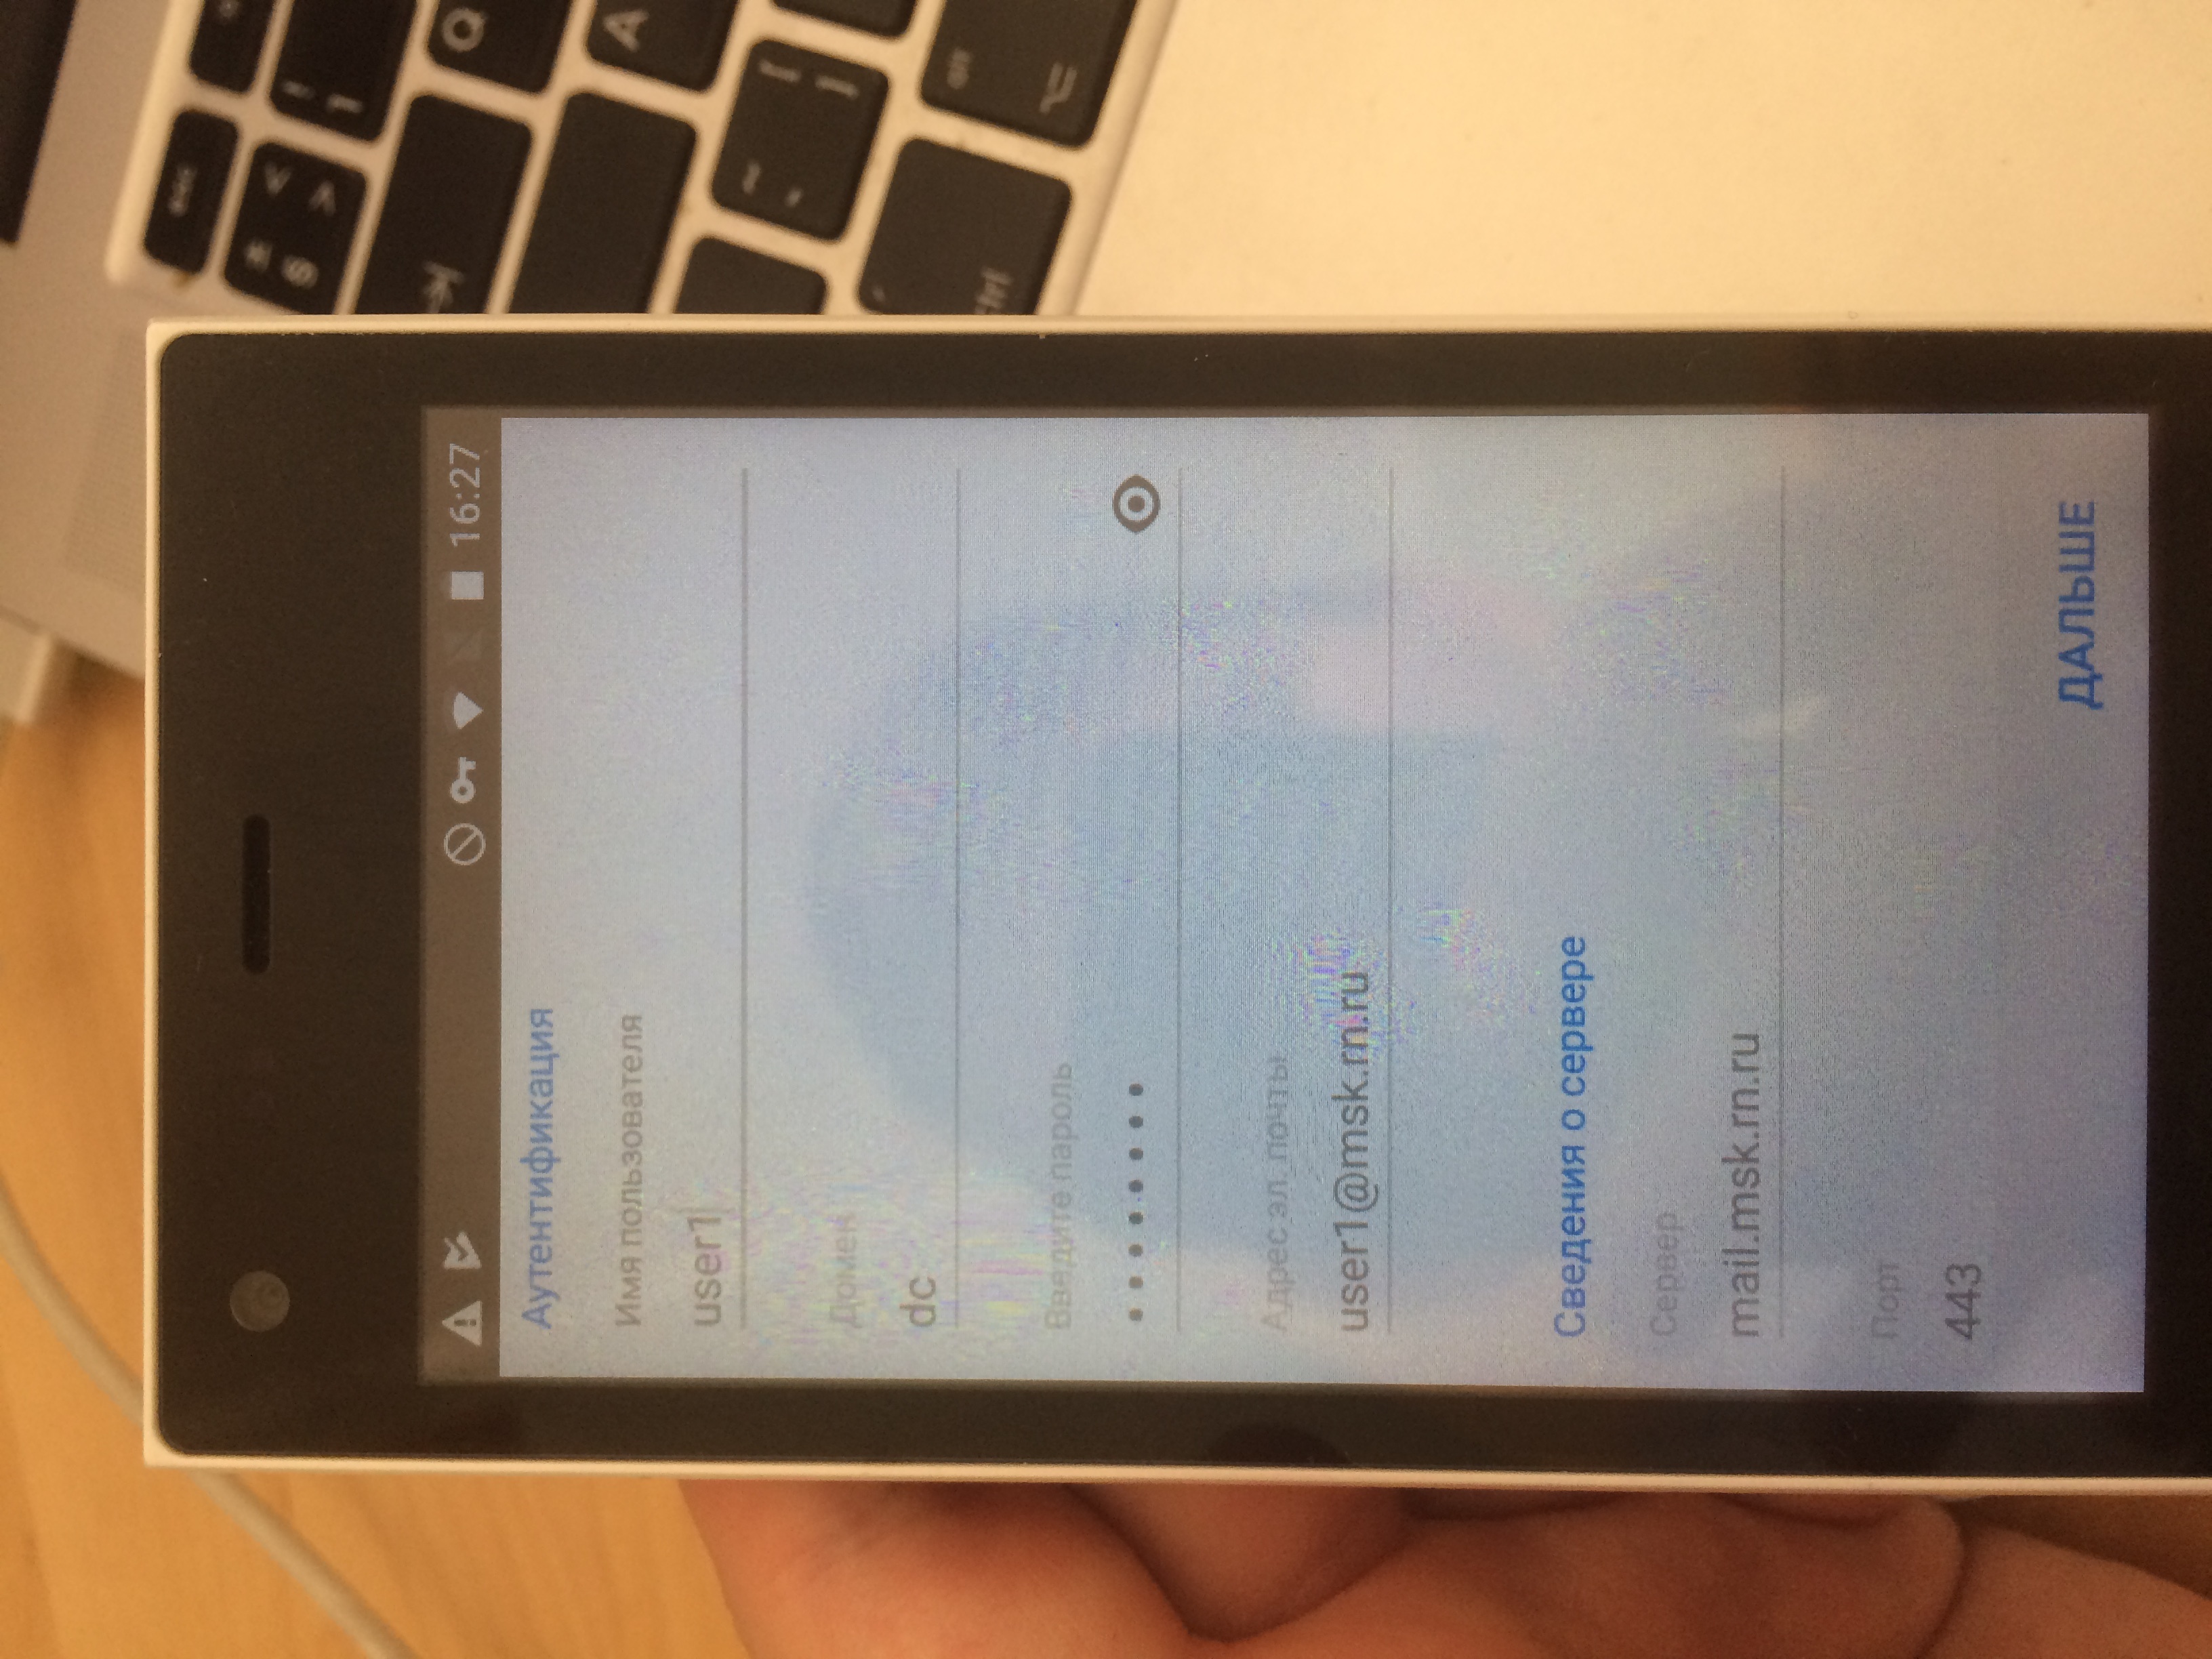
- Insert an address (IMG_1456.jpg) and later choose Manual configuration (“Ручная настройка”). Type -> Exchange Server.
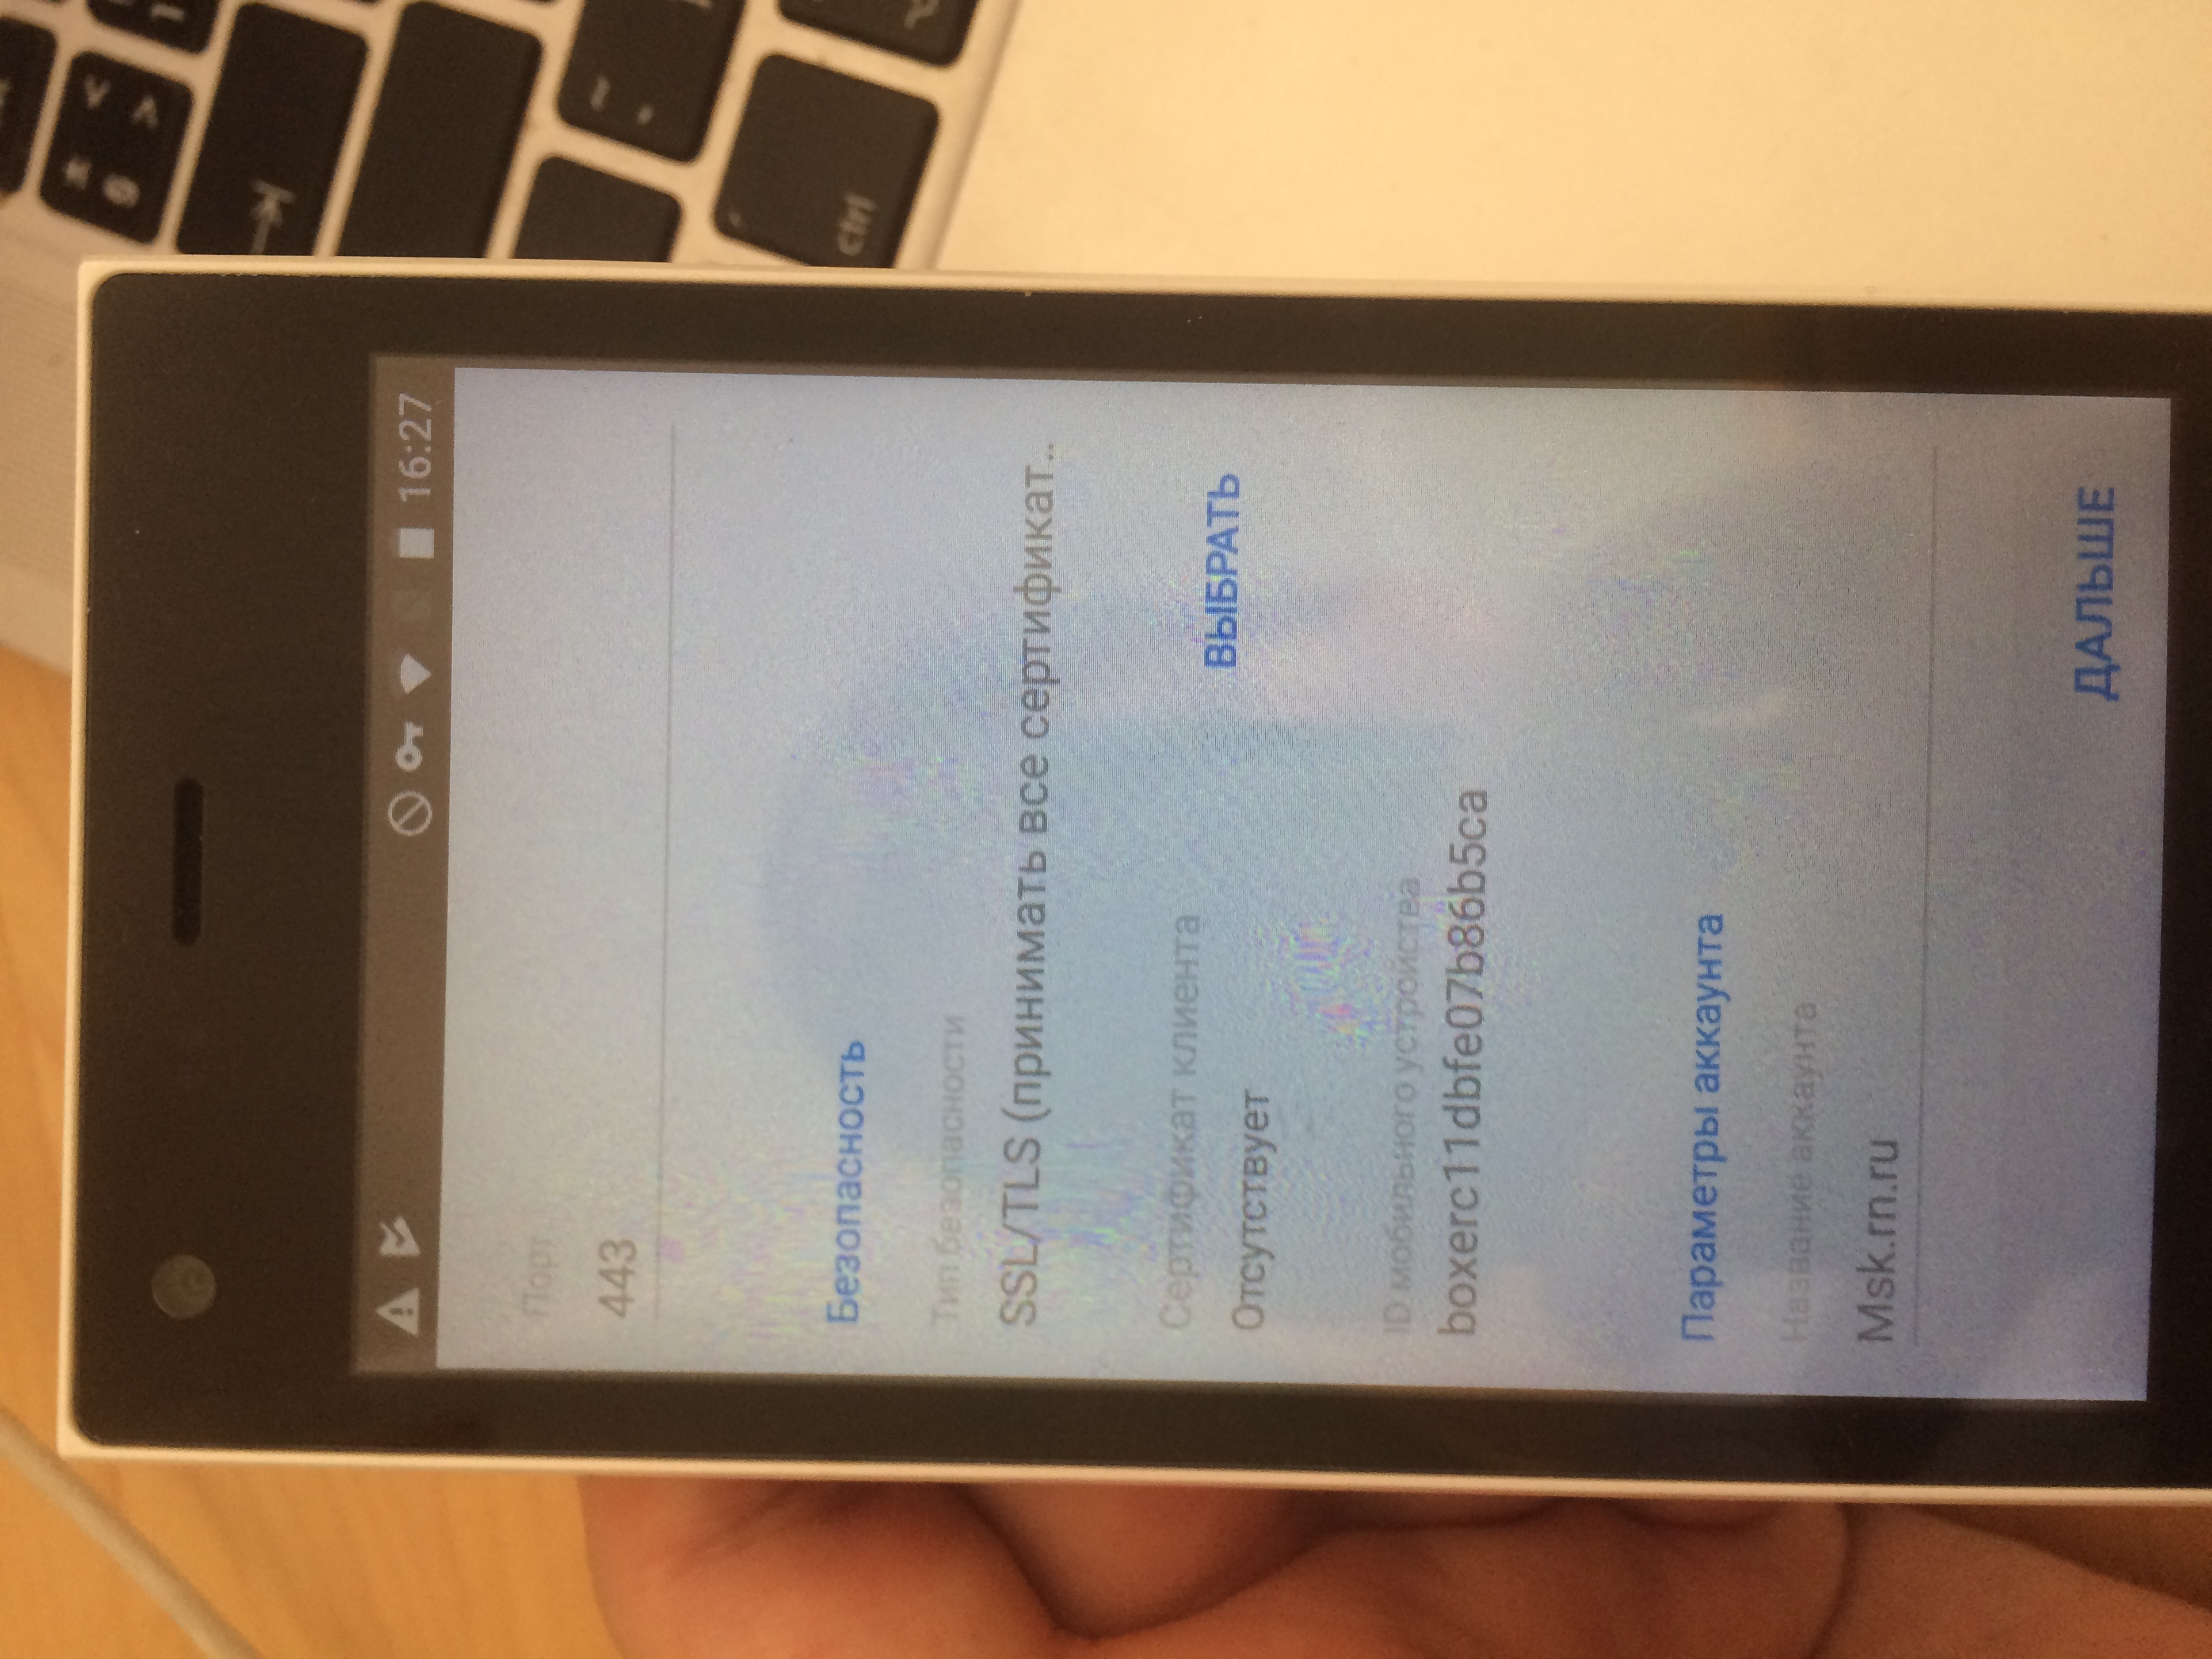
- See config in IGM_1457.jpg ang IGM_1458.jpg as an example of such a connection. It is important to choose SSL (Accept any certificates / “принимать любые сертификаты”).
Warning
After adding the account first time, Inbox may sync for a long time (>30min)
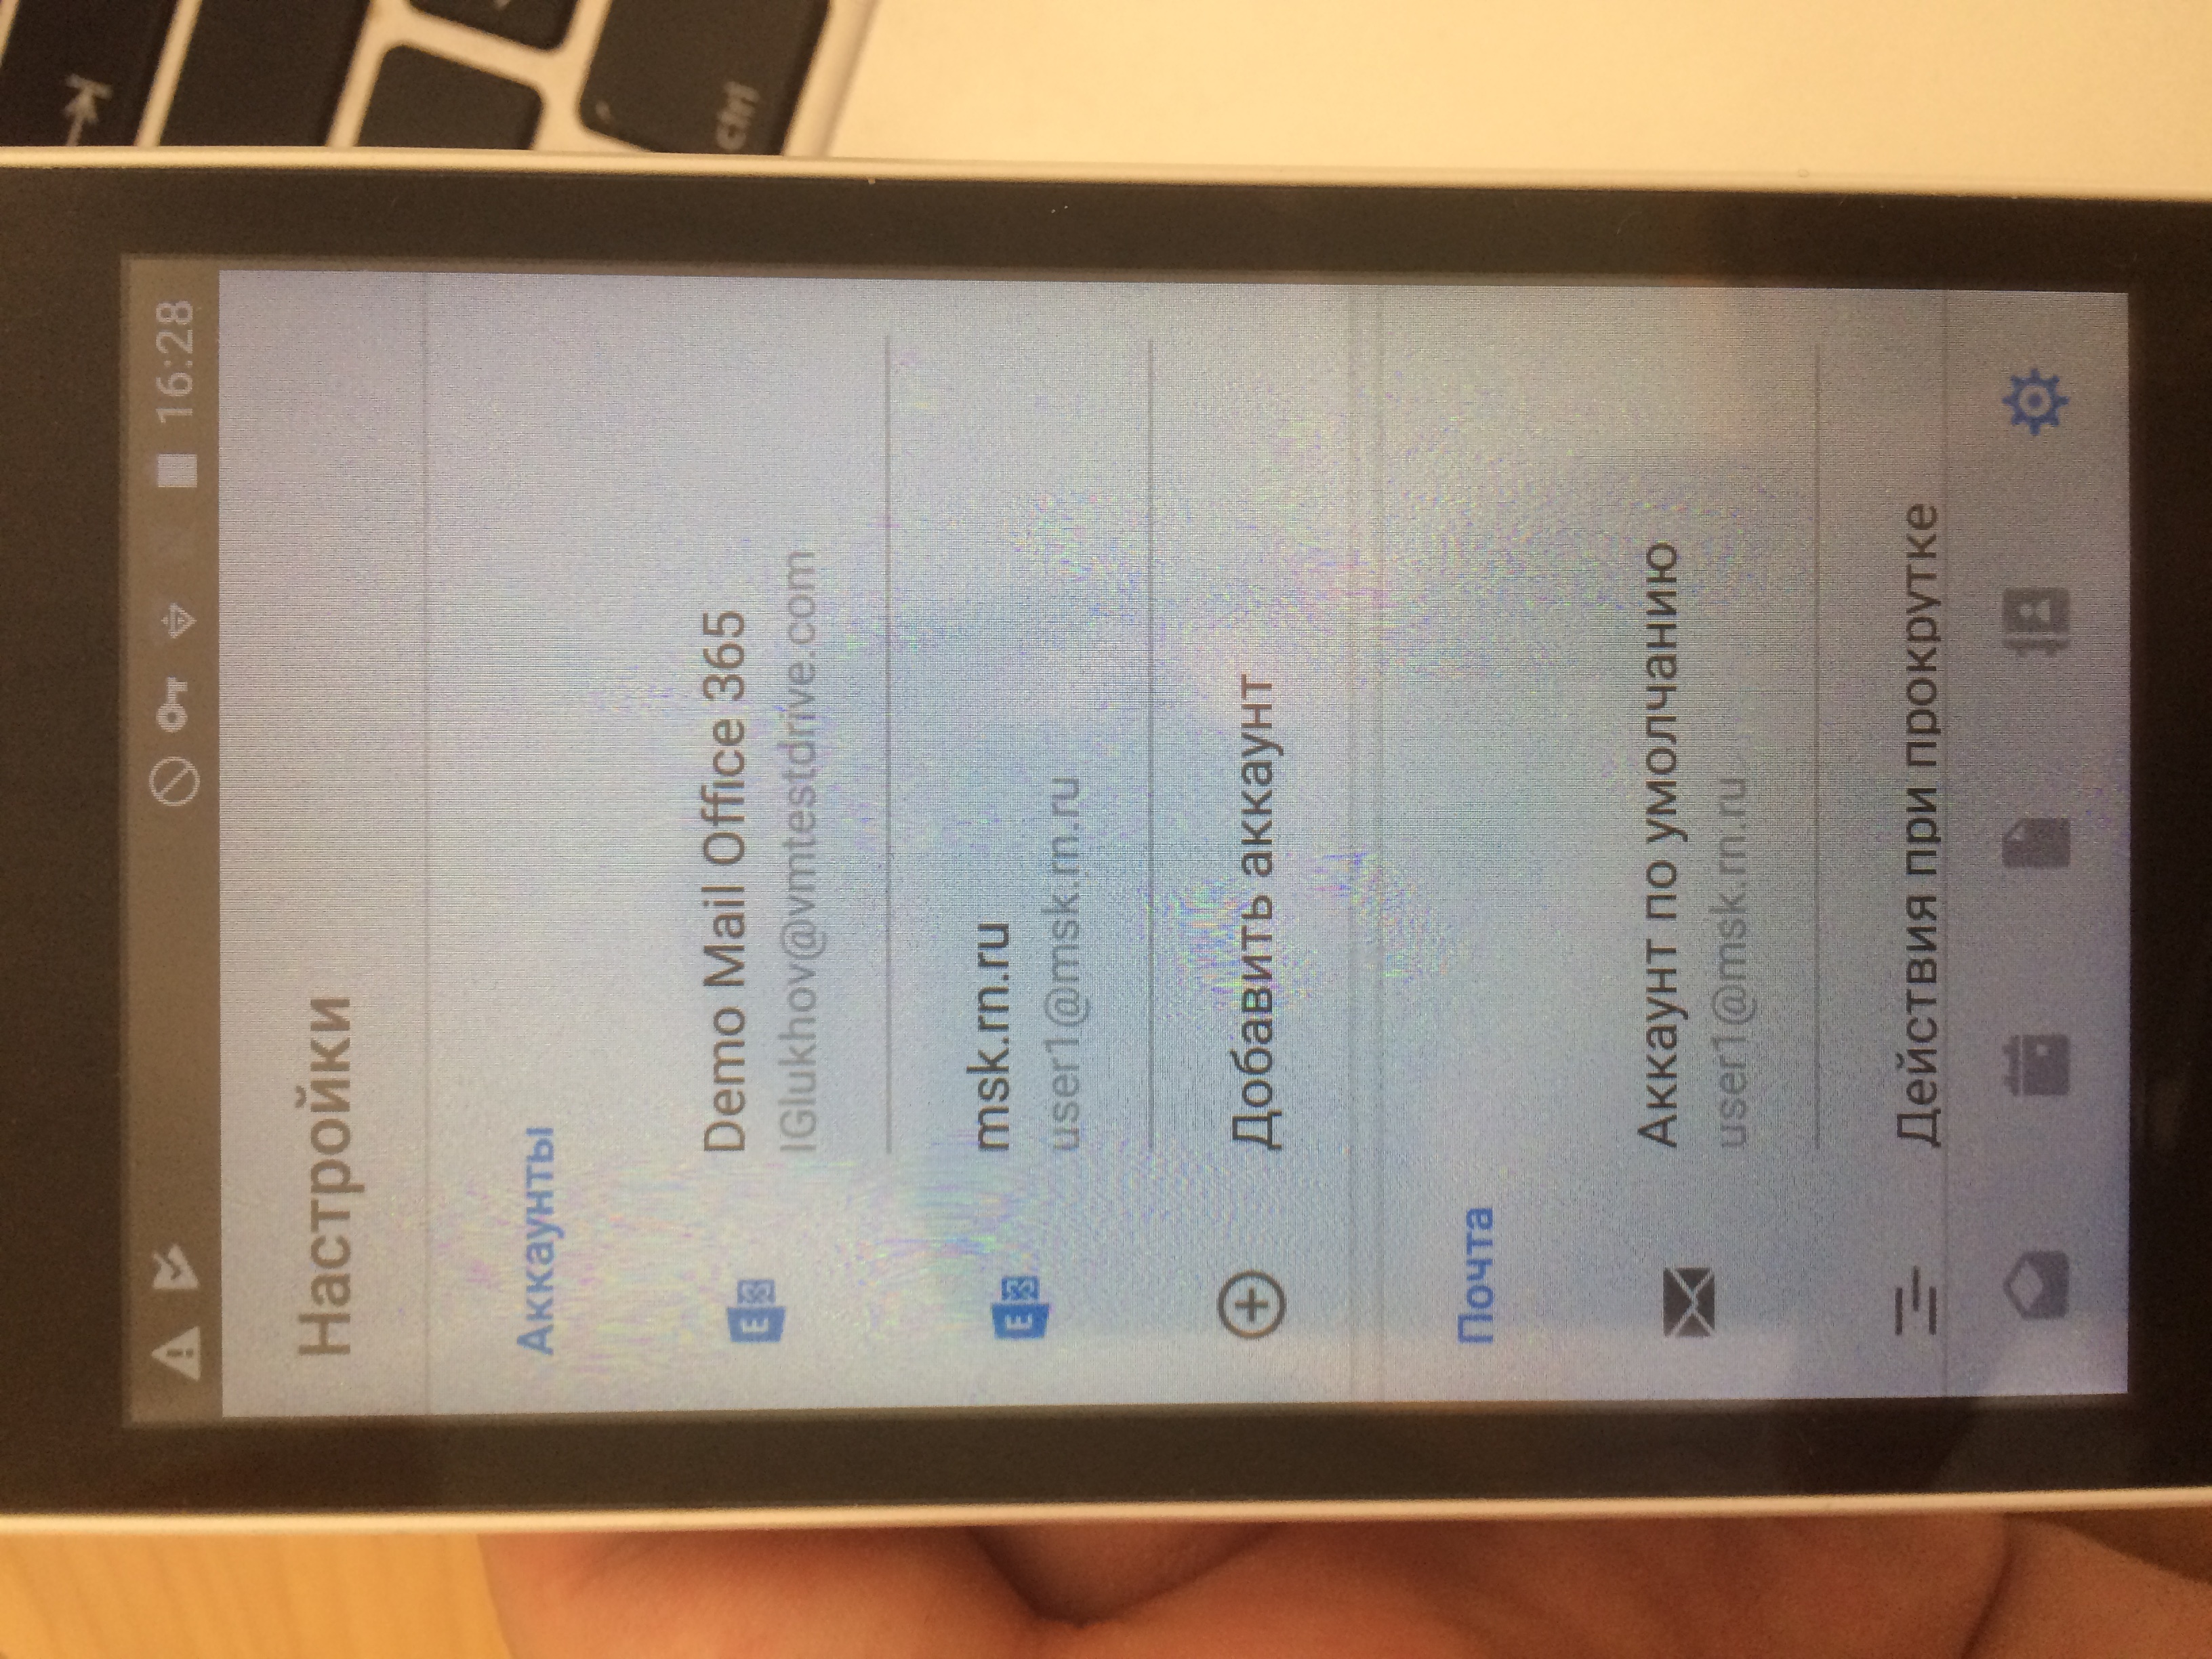
- Choose the default account (IMG_1459.jpg)